
7. Click Done if you are done editing the scene. Your editor should now look like the example below. You can drag the scene to look around the image. Click the Reset Camera button ![]() at the bottom-left corner to reset the camera angle (which is set by default). You can change it by dragging the scene and pressing the Set starting position button
at the bottom-left corner to reset the camera angle (which is set by default). You can change it by dragging the scene and pressing the Set starting position button ![]() at the bottom-right corner.
at the bottom-right corner.

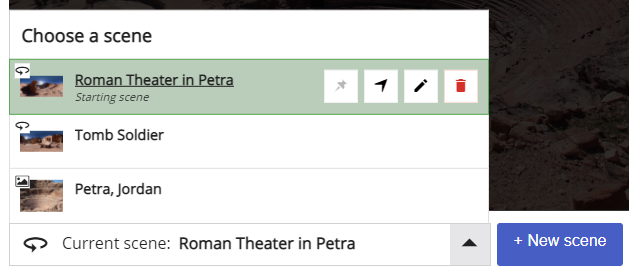
8. In the bottom-left corner, there is a dropdown menu which you can use to navigate between your scenes. An icon above the image indicates if the scene is 360 ![]() or static
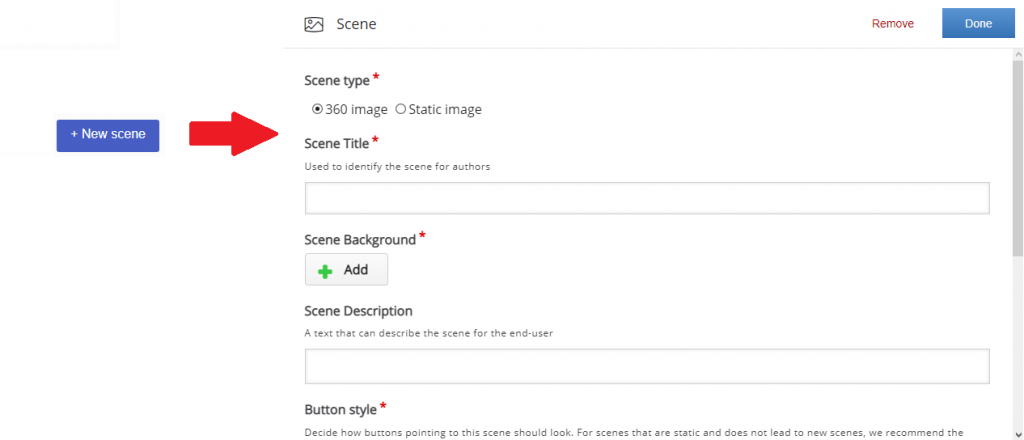
or static ![]() . Highlight a scene in order to manipulate it. You can add new scenes by clicking the New scene button beside the dropdown menu.
. Highlight a scene in order to manipulate it. You can add new scenes by clicking the New scene button beside the dropdown menu.
9. At the top of the editor, there is a toolbar that contains interactions which you can add to your scenes. You can add Go To Scene ![]() , Text
, Text ![]() , Image
, Image ![]() , Audio
, Audio ![]() , Video
, Video ![]() , Summary
, Summary ![]() , and Single Choice Set
, and Single Choice Set ![]() interactions.
interactions.