Home > User Guides > VLE Guide for Instructors > Adding H5P Interactive Content >  Image Hotspots

Image Hotspots

Image Hotspots is an H5P content type that is used to create a space where the teacher can place an overlay of hotspots on images. The students can click the hotspots to reveal an associated text, image, or video.

Below is an interactive example of the Image Hotspots content type.

In order to create an Image Hotspots content type:

1. Go to your content bank, click the Add button, and choose Image Hotspots. Doing so will redirect you to the Image Hotspots editor. Click the Enter Fullscreen button on the top-right of the editor to enable fullscreen editing.

Image Hotspots: Choosing Image Hotspots in the dropdown menu

2. Type the title you want to give to your new Image Hotspots content type in the Title field. This will be useful if you want to search for the content later.

Image Hotspots: Title field

3. Add a background image by clicking the Add button. After adding the image, you can edit or remove the image and edit its copyright details. You can add an optional alternative text for the background image in the Alternative text for background image field.

Image Hotspots: Adding a background image and its optional alternative text

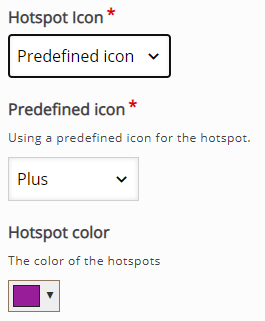
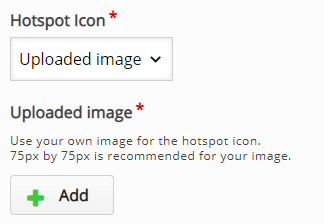
4. Choose what hotspot icon you would like to use. The editor comes with a list of predefined icons for you to use in the Predefined icon dropdown menu. You can choose from Plus , Minus , Times , Check , Question , Info , and Exclamation . You can change the color of the hotspots in the Hotspot color dropdown menu.

Image Hotspots: Choosing a predefined hotspot icon and color

You can also use a custom icon you found or created. Choose Upload image in the Hotspot Icon dropdown menu and upload an image. A 75px by 75px image is recommended.

Image Hotspots: Uploading an image for the custom hotspot icon

5. Go to the Hotspots section. You will add and edit attributes of the hotspots here.

Image Hotspots: Hotspots section

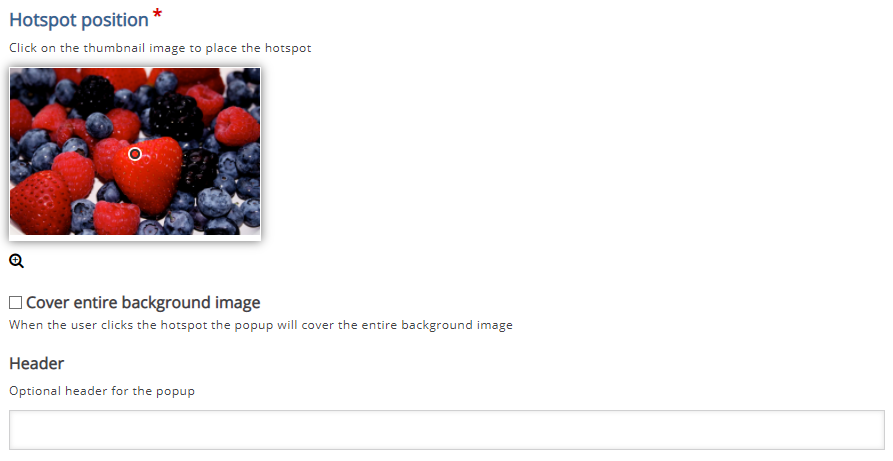
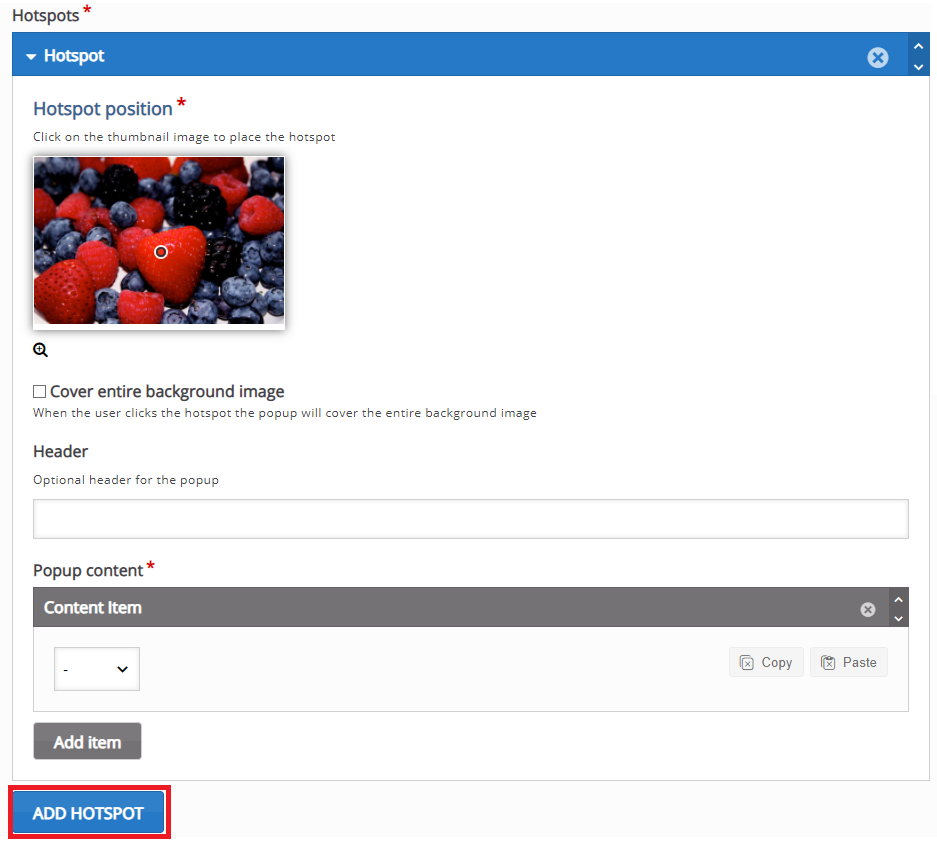
6. Choose a location for the hotspot in Hotspot location. Click anywhere in your image to place or relocate the hotspot. Click the Resize button to zoom the image in or out. You can enable or disable the popup from clicking the hotspot to cover the entire image by clicking the checkbox. You can also add an optional header for the popup.

Image Hotspots: Choosing the position of the hotspot and other optional settings

7. In the Popup content options, choose a content or contents for your popup. It can be a text, a video, or an image. You can add content items by clicking the Add item button.

If you want to remove a content item, click the “x” button at the top-right corner. Click the up and down arrows beside the “x” button or drag the gray bar on top of each content item if you want to rearrange them.

Image Hotspots: Popup content options

8. If you want to add more hotspots, click on the Add hotspot button. If you want to remove a hotspot, click the “x” button at the top-right corner. Click the up and down arrows beside the “x” button or drag the blue bar on top of each hotspot if you want to rearrange them.

Image Hotspots: The add hotspot button

9. Click the Save button if you are done editing. It will now be added to your content bank for future use.