Home > User Guides > VLE Guide for Instructors > Adding H5P Interactive Content > Drag and Drop
Drag and Drop
Drag and Drop is an H5P content type that is used for creating a space for students to drag a piece of text or image and drop it on one or more dropzones.
Below is an interactive example of the Drag and Drop content type.
In order to create a Drag and Drop content type:
1. Go to your content bank, click the Add button, and choose Drag and Drop. Doing so will redirect you to the Drag and Drop editor. Click the Enter Fullscreen button on the top-right of the editor to enable fullscreen editing.
2. Type the title you want to give to your new Drag and Drop content type in the Title field. This will be useful if you want to search for the content later.
3. For the first step, add a background image and define the play area size in the Settings section. Note that the background image is optional, so you can just skip it. If you choose to add a background image, you can edit the image and its copyright details.
4. Move to the Task section by clicking either the Task tab or the Task button.
5. In the Task section, there is a toolbar on the top where you can click to add drop zones, texts, and images. There are also instructions on the bottom for you to follow.
6. Start by clicking the Add drop zone button or by dragging it to the play area. Doing so will make the Drop zone options appear. Give the dropzone a label in the Label field. Tick the checkbox below it if you want the label to be shown. You can change its background opacity, give tips to the students in the Tips and feedback options, and adjust some settings in the checkboxes below it. Click Done if you are done editing.
After clicking the Done button, you can now manipulate the newly created drop zone. Continue adding more drop zones as you see fit.
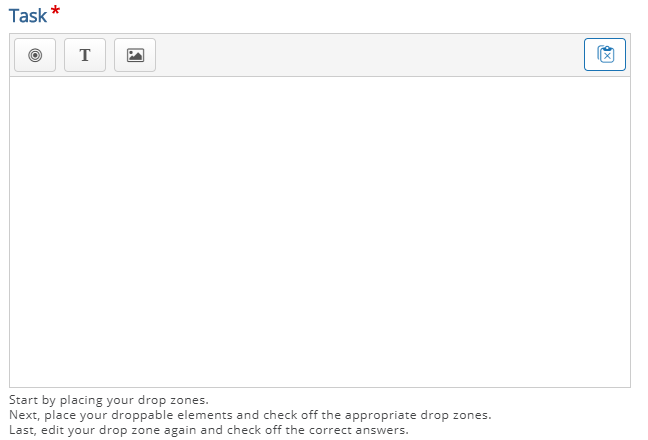
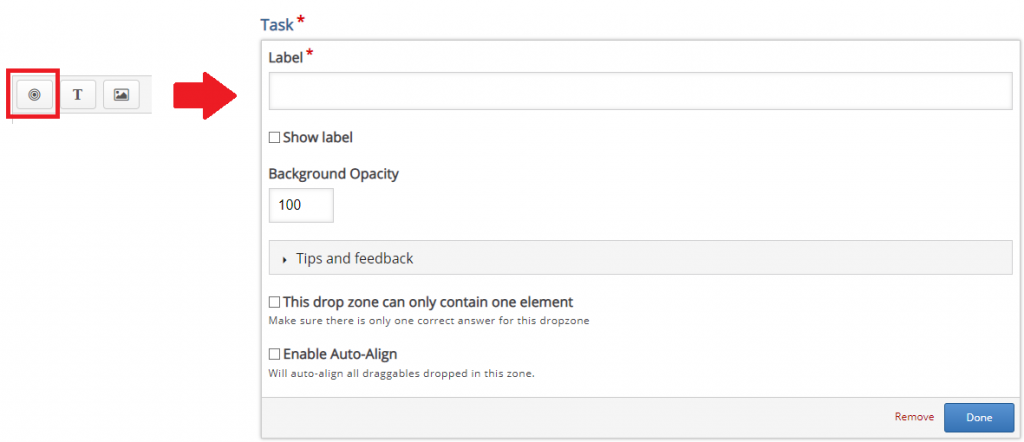
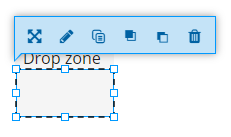
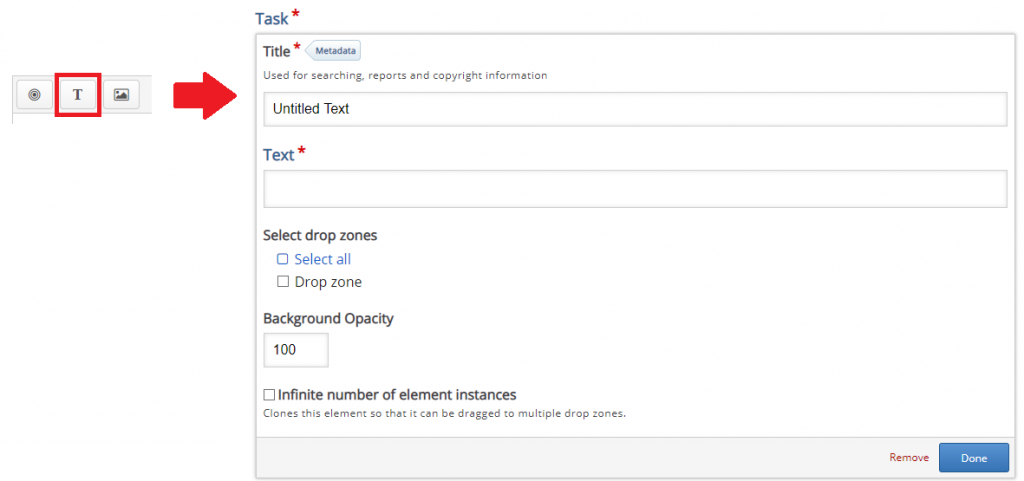
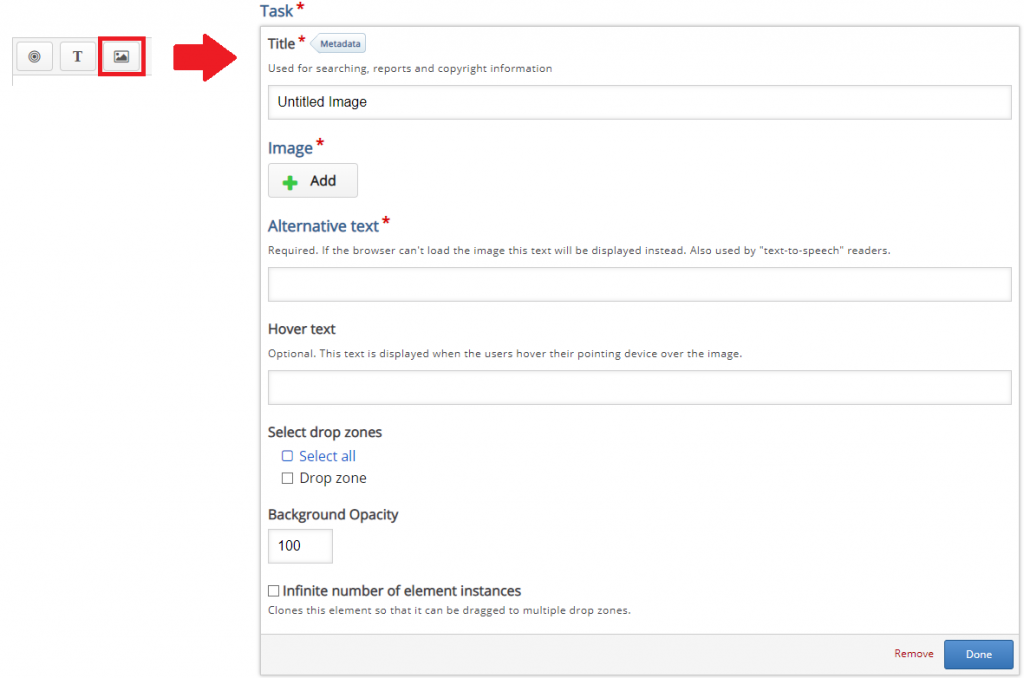
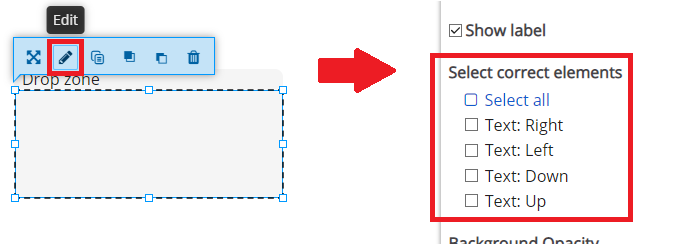
7. Next, click or drag and drop the elements you want to add. It can be a Text or an Image. If you choose the Text element, the Text options will appear. Enter the text that will be displayed in the Text field. Select the drop zones where you want the element to be dropped. Note that a drop zone will only accept the element if it is selected in the Select drop zone checkboxes. You can change its background opacity and enable or disable the “Infinite number of element instances” option. Click Done if you are done editing. Like the drop zone, you can also manipulate the newly created text element.
If you choose the Image element, the Image options will appear. Add the image that you want to display and enter its alternative text. You can also enter an optional hover text. Select the drop zones where you want the element to be dropped. Note that a drop zone will only accept the element if it is selected in the Select drop zone checkboxes. You can change its background opacity and enable or disable the “Infinite number of element instances” option. Click Done if you are done editing. Like the drop zone, you can also manipulate it. Select the drop zones where you want the element to be dropped. Note that a drop zone will only accept the element if it is selected in the Select drop zone checkboxes.
8. Continue adding Text and Image elements as you see fit. After that, click on your drop zone or one of your drop zones and select Edit or double-click on it. Notice the new setting after clicking the edit button. Elements that you added earlier appear here. Select one or more elements that will give a correct answer when dropped to this drop zone. Click Done if you are finished. Do this on all of your drop zones if you have multiple ones.
9. Move to the Overall Feedback section to add and customize the overall feedback the students will get after answering.
10. In the Behavioural settings section, you can manipulate how your content will behave.
11. Click the Save button if you are done editing. It will now be added to your content bank for future use.