Home > User Guides > VLE Guide for Instructors > Setting Up Student Groups >  Create & Modify Groups

Create & Modify Groups

On the Groups page, you can create groups and assign course members to groups.

Open the Groups Page

1.  On your course main page, click the settings button at the upper-right corner of the course main page. A dropdown list will appear then select More. The following image will appear.

Course Administration

2.  Click the User link and click Groups. The Groups page will open as shown below.
To create groups, you have three options:

  • Create group creates a single group.
  • Auto-create group lets you set parameters to automatically create multiple groups, and have the platform assign your students to the groups.
  • Import groups lets you upload a spreadsheet to create multiple empty groups.
Groups page

Create a Single Group

  1. On the Groups page, click Create group. The Create group page will open as shown below.
  2. Add a group name and optional description (displayed above the list of group members on the participants page), enrolment key and picture (displayed on the participants page and next to forum posts).
  3. Tick the box Enable group messaging if you wish to engage in group conversations. You will then be able to send group messages from the messaging drawer. 
  4. Click Save changes to create the group. You will be returned to the Groups page where your new Group will be listed in the left column, with (0) indicating the number of students in the group.
Create group page

Add Group Members to a Group

  1. On the Groups page, select the group to which you want to add participants, then click the ‘Add/remove users’ button.
  2. In the “Potential members” list, select the users you want to add to the group. Multiple users may be selected using the CTRL key. If you don’t see the student names you’re looking for, use the search bar at the bottom of the column.
  3. Click the Add button to add the users to the group. Otherwise, click the Remove button to remove the member from the group.
Add/remove users page

Auto-Create Groups

The Auto-create groups function quickly assigns your students to multiple groups and includes the option to randomize group membership.

  1. On the Groups page, click Auto-create groups. The Auto-create groups page will open as shown below.
  2. For Naming scheme, enter the group name you would like to use for your groups. It will automatically generate names based on what you enter.
    An “@” sign will generate a letter (e.g., “Group @” will generate Group A, Group B, Group C)
    A “#” sign will generate a number (e.g., “Group #” will generate Group 1, Group 2, Group 3)
  1. From the Auto-create based on drop-down menu, choose how you want to divide your students:
  • Number of groups will form groups based on the total number of groups you select.
  • Members per group will form groups based on the number of members you want in a group
    Note: If you select Members per group, under the Group members settings, check Prevent last small group. If a remaining group is less than the size you set, the system will place these members into other groups (preventing a group of 1 student).
  1. For Group/member count (required), enter the number of members you would like in each group.
  2. Under the Group members settings, from the Select members with role drop-down menu, choose whether to include only students or course members with other roles.
  3. From the Allocate members drop-down menu, select how you want group members to be assigned to groups. The default setting is Randomly. You can also sort alphabetically by First name, Last name, or ID number.
  4. (Optional) To create new groups within a Grouping (a group of groups, useful for assigning the same activity to multiple groups), under the Grouping settings, use the Grouping of auto-created groups drop-down menu. To create your groups within an existing grouping, select the name of that grouping, otherwise, select New grouping
  5. Click Preview to see a preview of the groups at the bottom of the page. If you are satisfied, click Submit.
Auto-create group page

Import Empty Groups

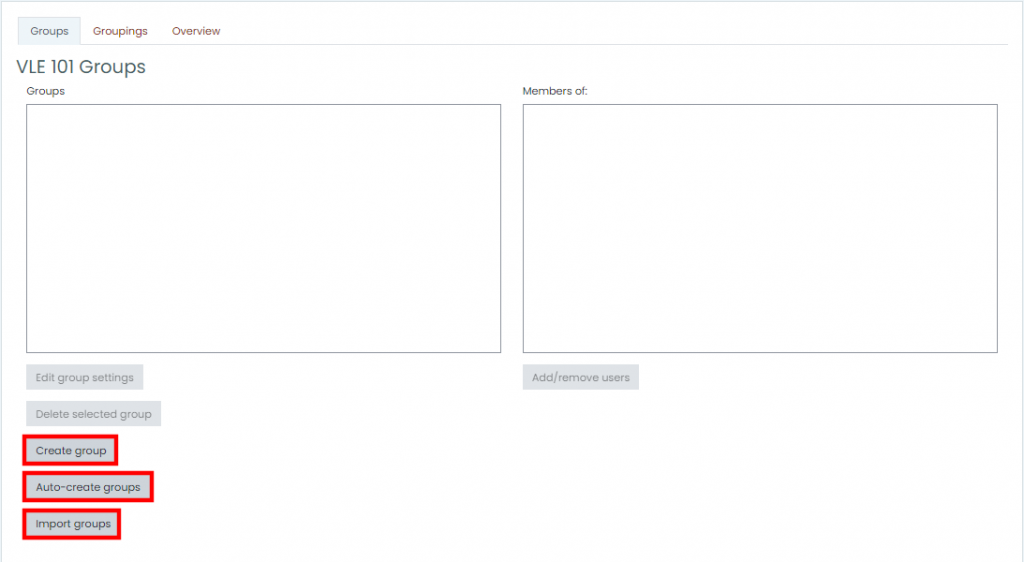
Import groups allows you to create multiple groups at once by uploading a spreadsheet containing the names of the groups. While this can create multiple groups at once, all groups will be empty, and you will need to manually add users.

Before you can import groups, you must first prepare a text file containing a list of groups that you want to create. The group list has required fields needed for the import to be successful. The file must include “groupname” as a field and can optionally include “description”.

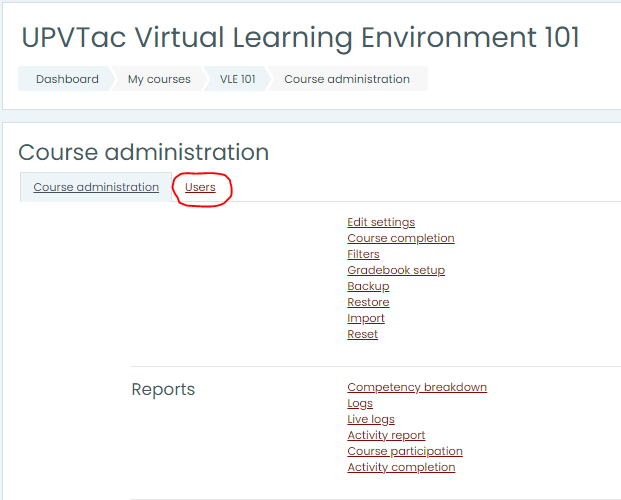
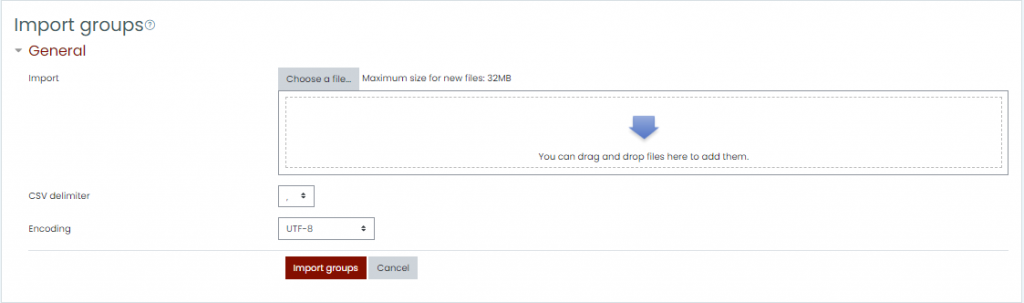
  1. On the Groups page, click Import groups. The Import groups page will open.
  2. Click Choose a file. The File Picker pop-up window will open.
  3. In the File Picker pop-up window, click Upload a file. Then, click Choose File to select the CSV file from your computer. Once you select the file, the name will appear next to the Attachment box. Click Upload this file. The File Picker pop-up window will close and you will see the file listed on the Import groups page.
  4. Click Import groups. The import process will begin and a confirmation page will open.
  5. If your import is not successful, check your CSV file and ensure that the column headings are correct. Also, if you included groups descriptions, considering shortening them and removing any commas.
Import group page