Timeline is an H5P content type that is used for creating a space where teachers can place a sequence of events in a chronological order. Images and texts can be added on each event.
Below is an interactive example of the Timeline content type.
In order to create a Timeline content type:
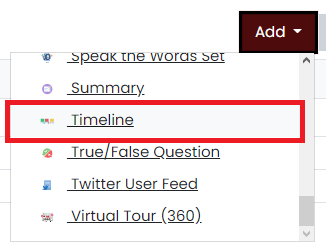
1. Go to your content bank, click the Add button, and choose Timeline. Doing so will redirect you to the Timeline editor. Click the Enter Fullscreen button on the top-right of the editor to enable fullscreen editing.
Timeline: Choosing Timeline in the dropdown menu
2. Type the title you want to give to your new Timeline content type in the Title field. This will be useful if you want to search for the content later.
Timeline: Title field
3. Go to the Timeline section. You will add contents to your timeline here.
Timeline: Top part of the Timeline section
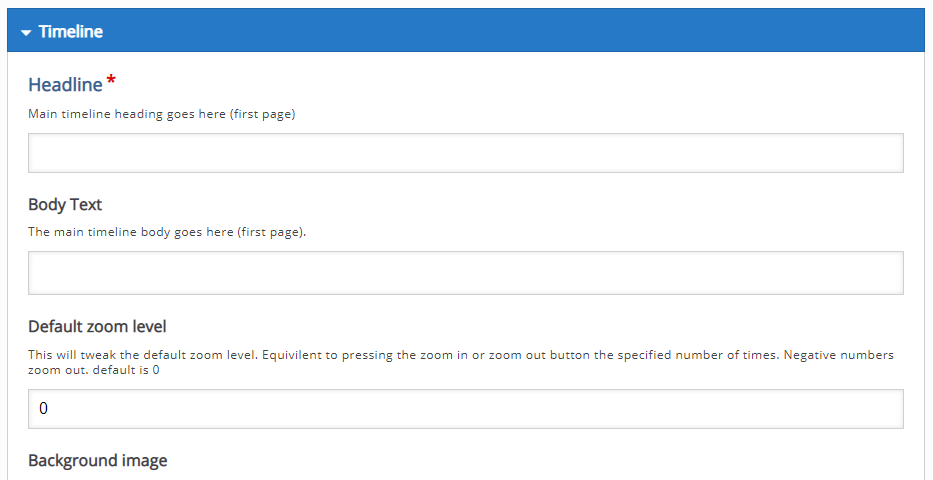
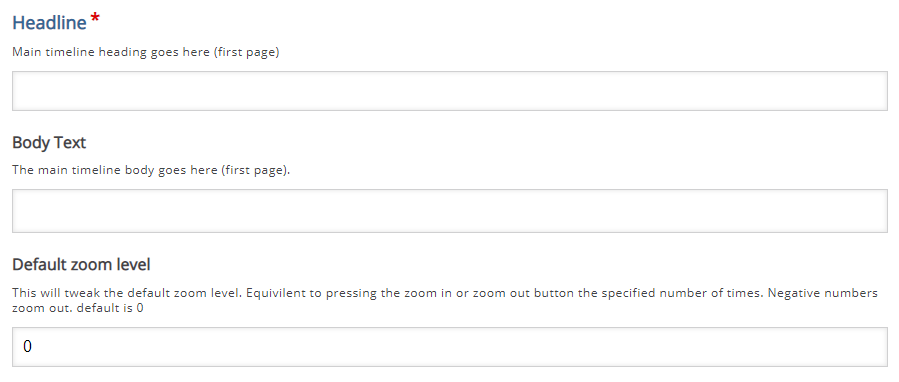
4. Set up the content of your headline or the first page of your timeline by first supplying the Headline field and Body Text field. The headline is required but the body text is optional. You can also tweak the default zoom level.
Timeline: Adding texts to the main headline
5. You can add an optional background image for the headline. After adding the image, you can remove it or edit it and its copyright details. You can also adjust the height of the entire timeline.
Timeline: Adding a background image and adjusting the height
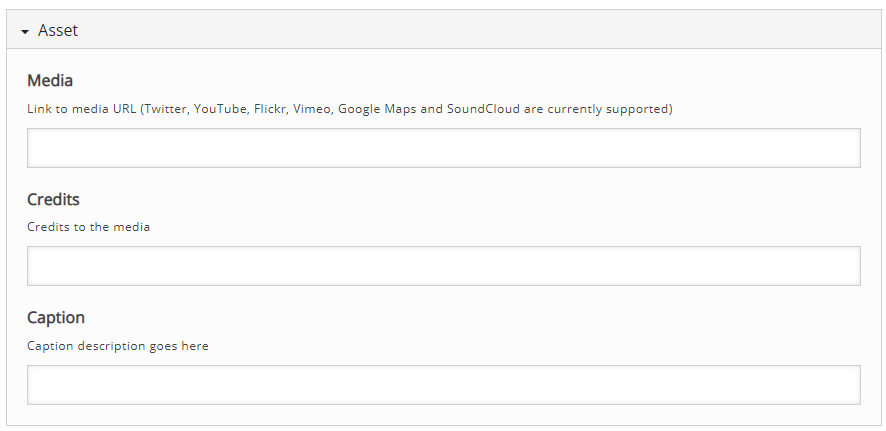
6. You can also add optional assets to the main headline in the Asset group.
Timeline: Optional Asset group
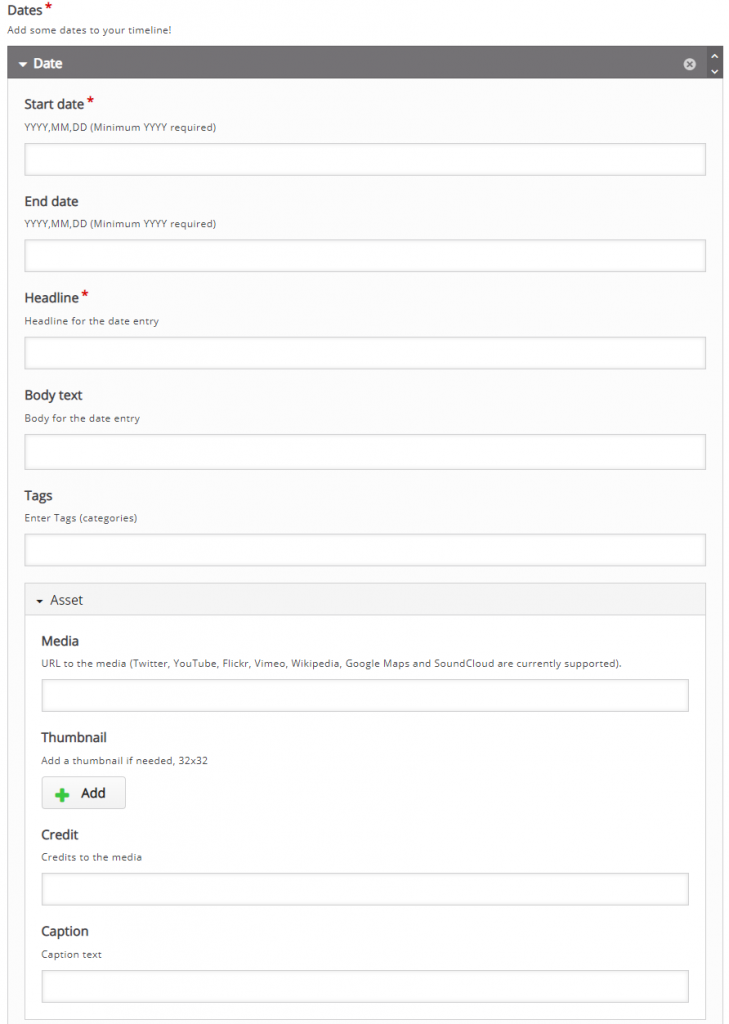
7. Add dates to your timeline in the Dates section. Start by adding a start and end date (the end date is optional). Add a negative sign to the date if you want to start at the B.C. (Before Common) era. Enter a headline and body text for the date in their respective text fields. You can also add optional tags and assets to the date.
Timeline: Adding dates and their contents in the Dates section
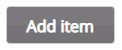
8. You can add more dates as you see fit by clicking the Add item button below the Dates section. If you want to remove a date, click the “x” button at the top-right corner. Click the up and down arrows beside the “x” button or gray theblue bar at the top of each date if you want to rearrange them.
Timeline: Add item button
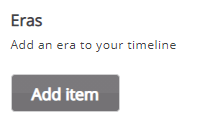
9. You can also add eras to your timeline, though they are optional. Click the Add item button in the Eras section to add an era. The era will appear in the timeline as a red bar with a red-orange text that will span the given start date to the end date.
Timeline: Eras section
10. Click the Savebutton if you are done editing. It will now be added to your content bank for future use.