Home > User Guides > VLE Guide for Instructors > Adding Communication Modules > Adding a Feedback to Your Course
Adding a Feedback to Your Course
The feedback activity module enables a teacher to create a custom survey for collecting feedback from participants using a variety of question types including multiple choice, yes/no or text input.
Feedback responses may be anonymous if desired, and results may be shown to all participants or restricted to teachers only. Any feedback activities on the site front page may also be completed by non-logged-in users.
Feedback activities may be used
- For course evaluations, helping improve the content for later participants
- To enable participants to sign up for course modules, events etc.
- For guest surveys of course choices, school policies etc.
- For anti-bullying surveys in which students can report incidents anonymously
The choice activity only allows the teacher to ask a single question. If you want your poll to have multiple questions, you can use the feedback activity. The process consists of two steps: creating the feedback activity and adding the questions.
Create a Feedback Activity
- Click the Turn Editing On button in the top-right corner of your course main page.
- Go to the section or week or topic to which you want to add the poll.
- Press the Add an activity or resource button, select the Activities tab, and select Feedback. This will take you to an Adding a New Feedback window.
- On the Adding a new Feedback page, click Expand all at the upper right, then in the General section enter a Name and some Description indicating how the feedback will be used. Anything marked with is a required field.
- Under Availability, select the Enable check boxes and select date, month, year, hour, and minutes into the Allow answers from and the Allow answers to fields.
- Under Question and submission settings, select whether:
- feedback can be submitted anonymously
- users can submit more than one piece of feedback
- an email will notify you of each submission
- you want questions automatically numbered
- Under After submission:
- Decide whether the site should display an analysis of the feedback received so far to students once they have submitted their own feedback.
- Enter the text you want to display to the student once they have submitted their feedback (e.g. “Thank you for completing these questions…”).
- Paste in an alternative URL, if you want to redirect students to somewhere other than the course home page when they click Continue.
- Choose the ‘Common module’, ‘Restrict access’, ‘Activity Completion’, and ‘Tags’ settings as you would when you set up any resource or activity. These general settings are further discussed in Activities and Resources: General Settings.
- Click the Save and return to course button to return to the course main page. You will see the link to the feedback activity, with the feedback icon in front of it. Clicking on the title will take you to the feedback page. As an alternative to clicking the Save and return to course button, you can preview what the page looks like by clicking the Save and display button to add questions immediately.
Add questions
Once a feedback has been added to the course and the feedback settings established, you can start to add questions.
- On the feedback page (accessed by clicking the Feedback activity’s link on the course home page), click the Edit Questions link at the top of the page. The next screen will give you a drop-down menu from which to select question types.
- Click on the ‘Add question‘ drop-down list and choose a relevant question type for the type of data that you wish to gather. See Available Question types for more information. To enhance the appearance of your Feedback form, you can add page breaks and other informational fields from this same drop-down menu.
- Set the following options for each of the question:
- Position
– This number controls the order of the questions. Position 1 is the question nearest the top of the page, so when you create or edit a question, you can choose from the dropdown of available positions (which will vary depending on how many other questions there are). You can also rearrange questions by clicking the position up and down arrows on the main add questions screen. - Required
– These questions are required to be answered and will prompt the user if they are left unanswered. These questions are highlighted with a red star for users and have a yellow exclamation point beside them when editing Feedback questions.
- Position
- You do not have to create questions in the order in which they will display in the survey. Questions can be reordered by dragging via the arrow You can also change or delete the question by clicking the drop-down arrow next to Edit.
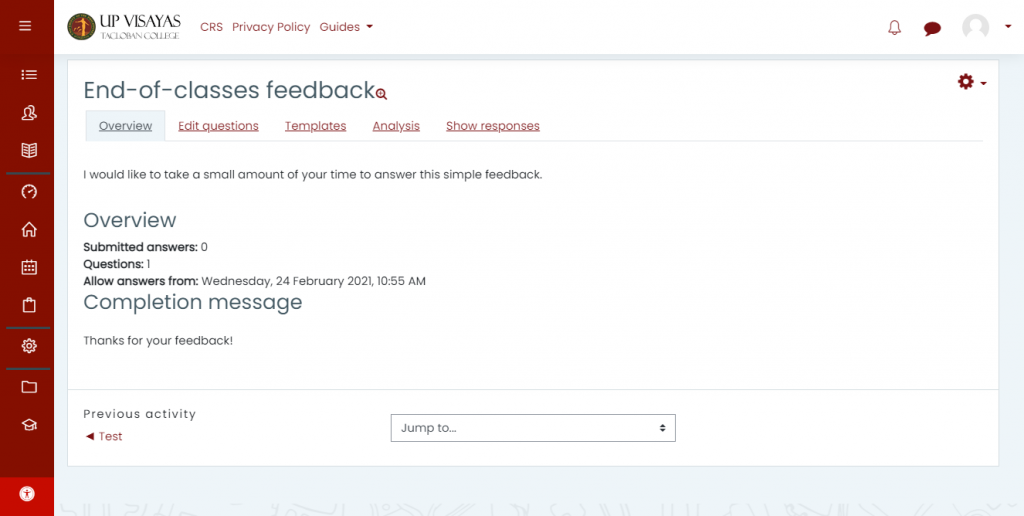
- Once you have created all your questions, and users have given responses, if you click on the ‘Analysis’ tab, you will then be presented with an overview report of responses. This includes graphical representation of the total number of responses and the option to export the raw data to Excel to carry out more thorough reporting if required.
- The ‘Show responses’ tab will show each of the responses on a single overview page.
Available Question Types
- Captcha
- A test to make sure a real person is filling in the form and not an automatic spamming program of some sort. Asks a person to write out some distorted text which is displayed on screen. You normally won’t need this unless you find you are getting spammed a lot.
- Information
- This allows you to choose to display one of three types of information: the time of responding; the course and/ or the category where the feedback is located.
- Label
- Like a standard label, this allows you to add arbitrary text between questions allowing for extra explanation or to divide the Feedback into sections.
- Longer Text Answer
- This option is for creating a text box (you specify how big it will appear in rows and columns) which people can write a long answer into.
- Multiple choice
- Selecting this then offers you three alternatives:
(1) Multiple choice single answer. This will give you a series of radio buttons, which starts on ‘Not selected’ and then has your options afterwards. Only one can be chosen and ‘Not selected’ is a valid answer if the question is not set to ‘required’.
(2) Multiple choice, multiple answers
(3) Multiple choice – single answer allowed (dropdown list) This type will give you a dropdown list from which only one answer can be selected.
- Numeric answer
- Here, you ask a question which must have a number as an answer and specify the acceptable range e.g. “How many arms would you like, if more than 2 were possible? (please specify 0-10)” with a range of 0-10 set in the options. It helps if you specify the acceptable range in the question text.
- Multiple Choice (Rated)
- This is like the other multiple choice options, except that each option has a numerical value associated with it. You have the choice of using radio buttons or a drop-down list to display the answers.
- For example:
- How much do you enjoy being in class?
- I love it
- I like it
- It is OK
- I do not like it
- I hate it
- It is not possible to (easily) get out an “average” score – particularly if you are asking the same question before and after an event or course. If the Drop-down List (rated) option is used, then numerical values are associated with each option, allowing an average or other measurement of any responses.
- The above question might look like:
- How much do you enjoy being in class?
- [5] I love it
- [4] I like it
- [3] Its OK
- [2] I do not like it
- [1] I hate it
- Which might allow for an average (e.g. “4.5 this term, up from 3.9 last term”) to be calculated.
- Short Text Answer
- This option lets you specify a single line answer, with an input box which is a set number of characters long (you choose). You also specify the maximum number of characters you will accept, so that the answer is not too long and/or does not run over the length of the box on screen.