1. Access the course that you want to save from the My courses dropdown list of the navigation block, or from the Recently accessed courses block or Course overview block located at the dashboard.
2. At the upper right corner of the course main page, click the Settings ![]() icon. A dropdown list will appear as shown below then select the Backup
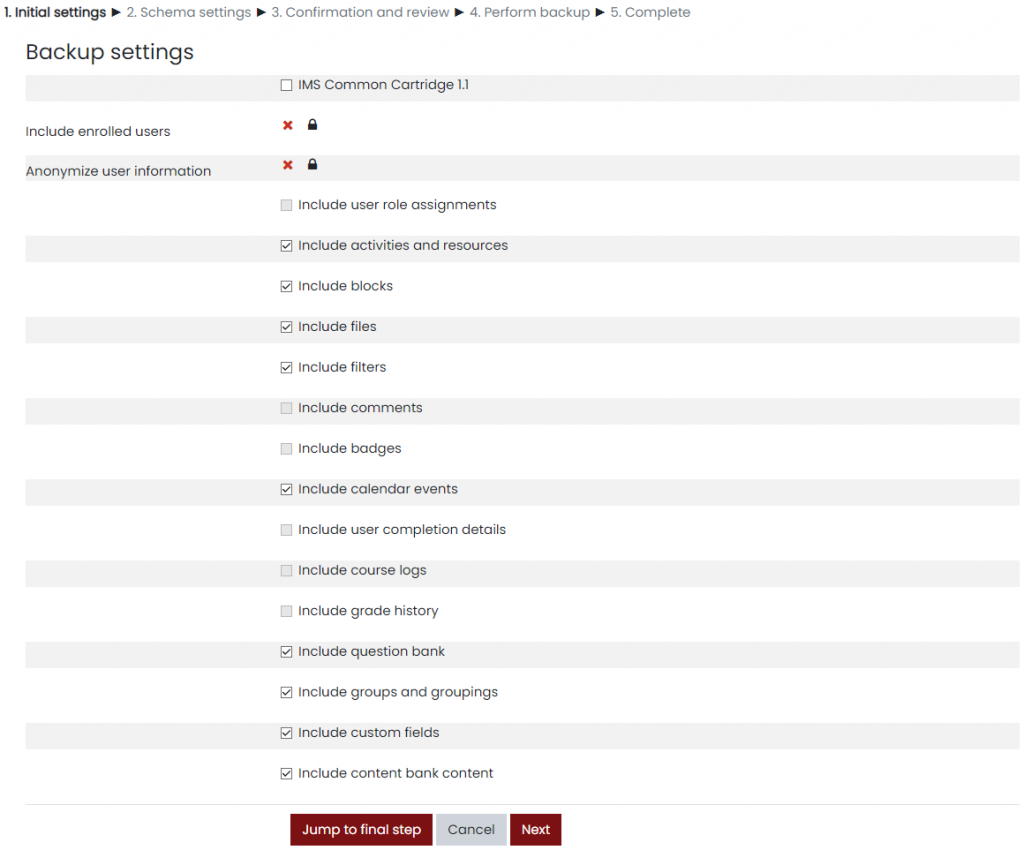
icon. A dropdown list will appear as shown below then select the Backup ![]() link. This will redirect to you the backup settings page.
link. This will redirect to you the backup settings page.


1. Access the course that you want to save from the My courses dropdown list of the navigation block, or from the Recently accessed courses block or Course overview block located at the dashboard.
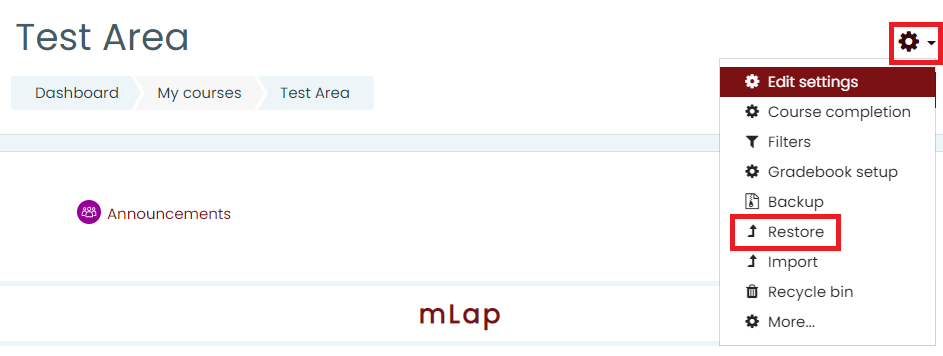
2. At the upper right corner of the course main page, click the Settings ![]() icon. A dropdown list will appear as shown below then select the Restore
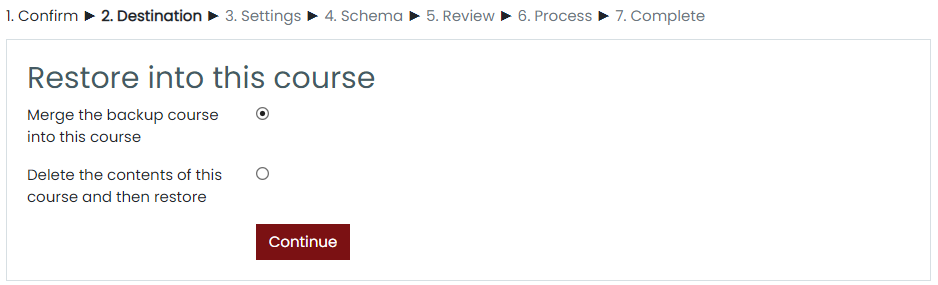
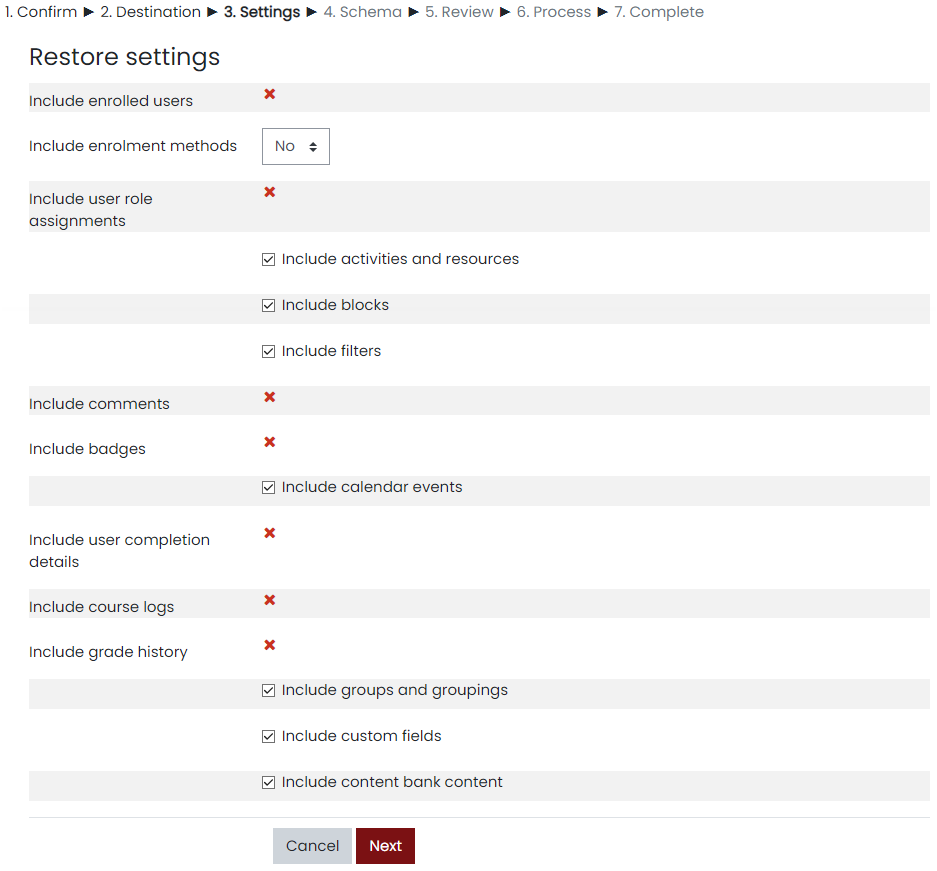
icon. A dropdown list will appear as shown below then select the Restore ![]() link. This will redirect to you the restore settings page.
link. This will redirect to you the restore settings page.